 Re: கிறிஸ்துமஸ் காலுறைகள் உருவாக்க ... (படங்கள்)
Wed Nov 26, 2014 11:55 am
To successfully complete this project in a professional manner the following items will be required:
A General Christmas Stocking Shape That You Can Draw or Print
Colorful Fabrics With Jolly Motifs
Simple White Muslin
Any Rotary cutter
Coordinating Thread
1″ pom pom detail
Hot Glue Gun Simple Ribbon,
Here Green Regular Sewing Supplies
Start by simply sketching your stocking and try to make it as personal as possible. You will use these sketches to cut from your main fabric two piece, one outside back piece and one outside front piece, whether you realize these out of the same fabric or not, it is your call. You should also cut two muslim pieces, two inside lining pieces.
You can now use a rotary cutter now to cut a piece of fabric that will be the cuff portion of your stocking, in this guide this part has been 10×13.5 inches. Design yours to fit the overall stocking.
Now, use a rotary cutter and mat to cut a piece of fabric for the cuff portion of your stocking that is 10 x 13.5 inches.
Now that all of the cuts are made, let’s make a stocking, shall we?
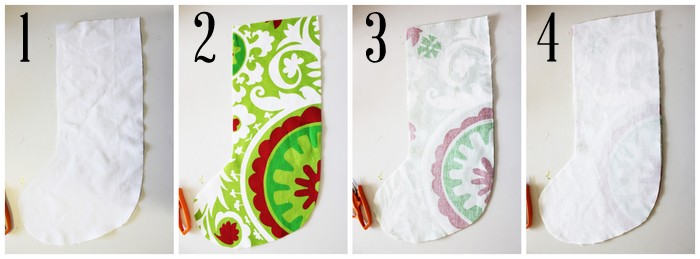
Now that all we have is prepared we should start crafting something extraordinary. Start by simply laying one of your muslim pieces on a flat surfaces as showcased below. Muslin is finished on both sides in the same manner so you should not worry about which direction it faces. Next you should pick one of the outside pieces with the beautiful facep up, on top of the muslin piece directly, be careful here to line up all the edges as much as possible.
In the next part you lay the remaining outside piece face down as displayed in the picture below. On top of the outside piece you will put the second muslin piece, again, with caution to overlap the edges as much as possible.
Do your best to smooth everything out in these first actions as these will influence the end result. Simply try to ensure that the edges of each layer are aligned extremely well.
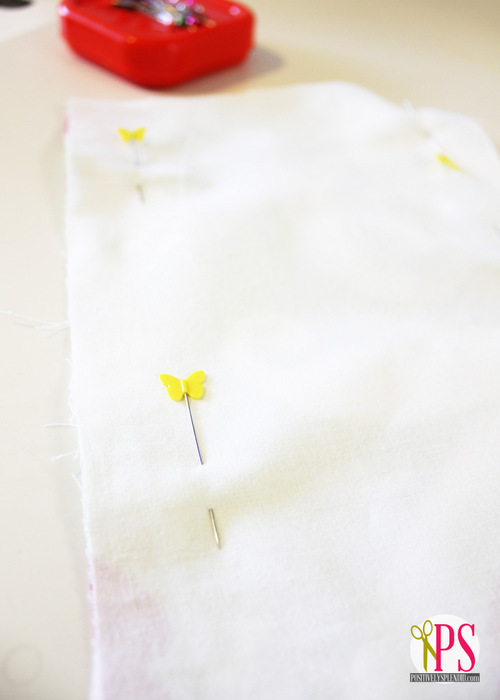
After layering all the pieces with swiss precision we should pin through all the layers to secure all the pieces together as much as possible. You will notice that the pins have been introduced parallel to the edge on a considerable distance. They have been inserted in this manner to prevent any possibility or sewing over a pin.
Depending on what kind of technology you have at hand you can now serge all the way around the stacked pieces whilst making sure that the opening remain unstitched of course. If you are using a coconventionalewing machine though you should most likely use a 1/4″ seam allowance before ending the seam with an overcast stitch or wide zig zag .
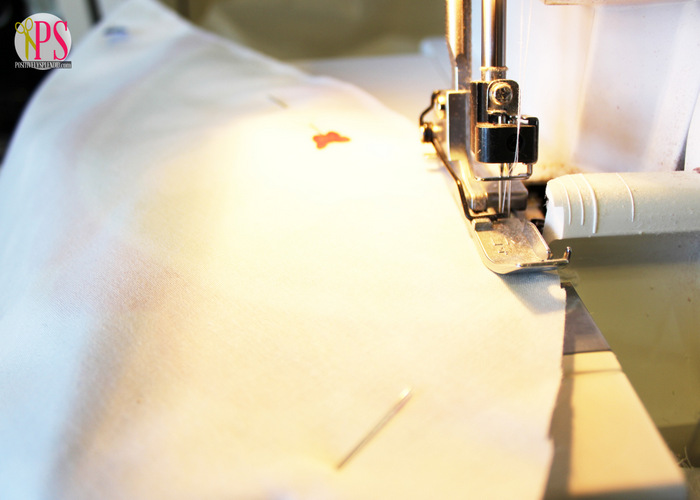
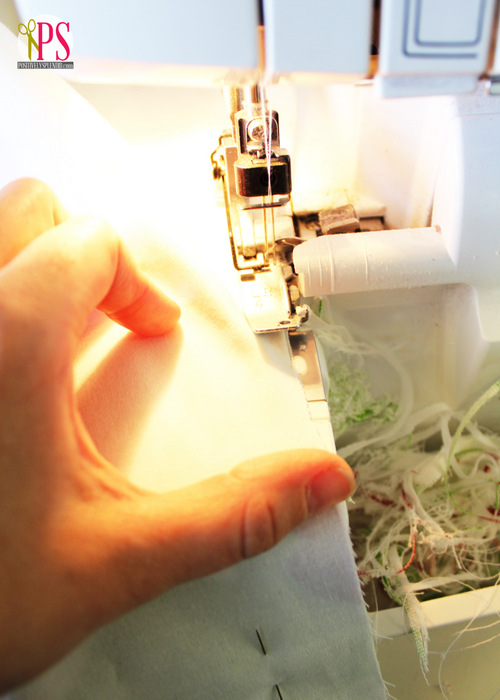
It is not easy to serge over an inside corner but it can be done successfully by gently pulling with caution the fabric in front of the presser foot to the left. In this manner the edge will always create a straight line with the edge of the fabric under the presser foot. As showcased below you will have to fold the fabric a little but by maneuvering the material in such manner you will make the stitching of a curve as easy as a the stretching in a straight line.
A General Christmas Stocking Shape That You Can Draw or Print
Colorful Fabrics With Jolly Motifs
Simple White Muslin
Any Rotary cutter
Coordinating Thread
1″ pom pom detail
Hot Glue Gun Simple Ribbon,
Here Green Regular Sewing Supplies
Start by simply sketching your stocking and try to make it as personal as possible. You will use these sketches to cut from your main fabric two piece, one outside back piece and one outside front piece, whether you realize these out of the same fabric or not, it is your call. You should also cut two muslim pieces, two inside lining pieces.
You can now use a rotary cutter now to cut a piece of fabric that will be the cuff portion of your stocking, in this guide this part has been 10×13.5 inches. Design yours to fit the overall stocking.
Now, use a rotary cutter and mat to cut a piece of fabric for the cuff portion of your stocking that is 10 x 13.5 inches.
Now that all of the cuts are made, let’s make a stocking, shall we?
Now that all we have is prepared we should start crafting something extraordinary. Start by simply laying one of your muslim pieces on a flat surfaces as showcased below. Muslin is finished on both sides in the same manner so you should not worry about which direction it faces. Next you should pick one of the outside pieces with the beautiful facep up, on top of the muslin piece directly, be careful here to line up all the edges as much as possible.
In the next part you lay the remaining outside piece face down as displayed in the picture below. On top of the outside piece you will put the second muslin piece, again, with caution to overlap the edges as much as possible.
Do your best to smooth everything out in these first actions as these will influence the end result. Simply try to ensure that the edges of each layer are aligned extremely well.

After layering all the pieces with swiss precision we should pin through all the layers to secure all the pieces together as much as possible. You will notice that the pins have been introduced parallel to the edge on a considerable distance. They have been inserted in this manner to prevent any possibility or sewing over a pin.

Depending on what kind of technology you have at hand you can now serge all the way around the stacked pieces whilst making sure that the opening remain unstitched of course. If you are using a coconventionalewing machine though you should most likely use a 1/4″ seam allowance before ending the seam with an overcast stitch or wide zig zag .

It is not easy to serge over an inside corner but it can be done successfully by gently pulling with caution the fabric in front of the presser foot to the left. In this manner the edge will always create a straight line with the edge of the fabric under the presser foot. As showcased below you will have to fold the fabric a little but by maneuvering the material in such manner you will make the stitching of a curve as easy as a the stretching in a straight line.

 Re: கிறிஸ்துமஸ் காலுறைகள் உருவாக்க ... (படங்கள்)
Wed Nov 26, 2014 12:04 pm
After this short stitching part you should let the main part of the stocking aside. Next we will fold the stocking cuff piece in half, as shown below whilst aligning the short edges. Pin afterwards.
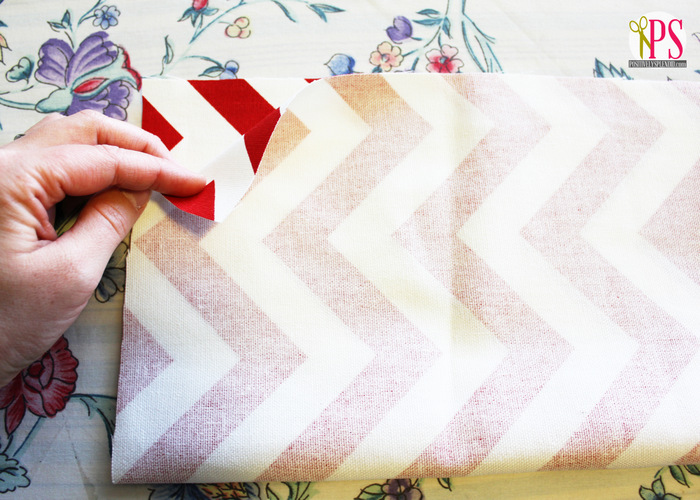
You can now stitch with a 1/4″ seam allowance or serge along the short edge to make a tube out of your fabric. The newly stitched piece should now be pressed flat on a surface to make the seam look like it runs through the center of the piece. You can definitely align the fabric better than it has been below.
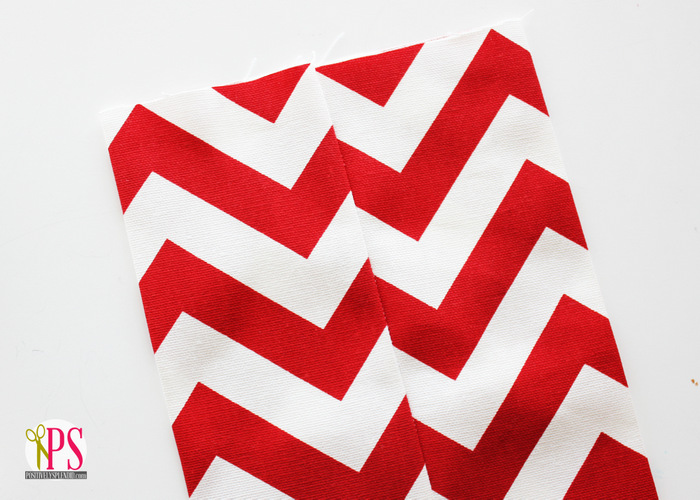
Next simply fold the bottom edge of the formed tube it in half with the wrong sides facing inside and the remaining raw edges properly aligned.
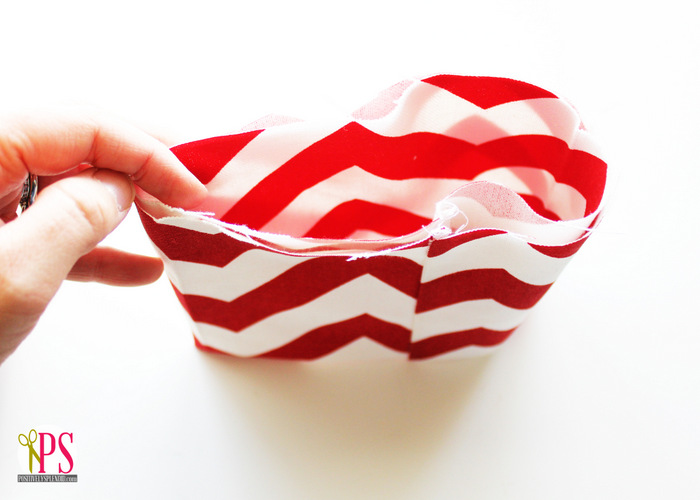
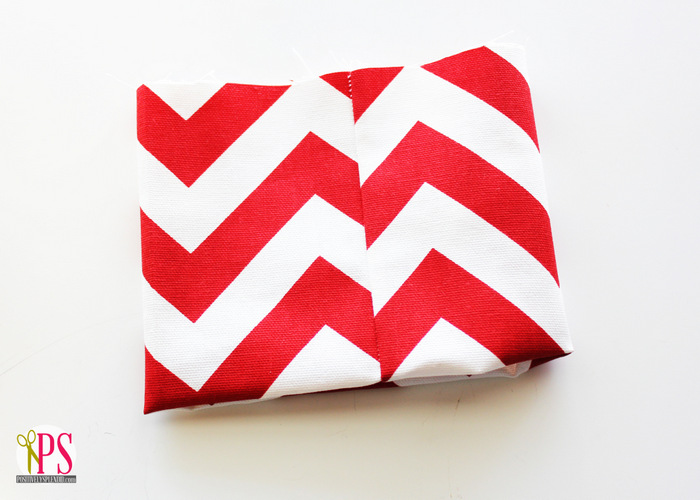
It is time to accessorize the product with a fresh cut 6″ length ribbon shaped into a loop as shown below.

You can now stitch with a 1/4″ seam allowance or serge along the short edge to make a tube out of your fabric. The newly stitched piece should now be pressed flat on a surface to make the seam look like it runs through the center of the piece. You can definitely align the fabric better than it has been below.

Next simply fold the bottom edge of the formed tube it in half with the wrong sides facing inside and the remaining raw edges properly aligned.


It is time to accessorize the product with a fresh cut 6″ length ribbon shaped into a loop as shown below.
 Re: கிறிஸ்துமஸ் காலுறைகள் உருவாக்க ... (படங்கள்)
Wed Nov 26, 2014 12:06 pm

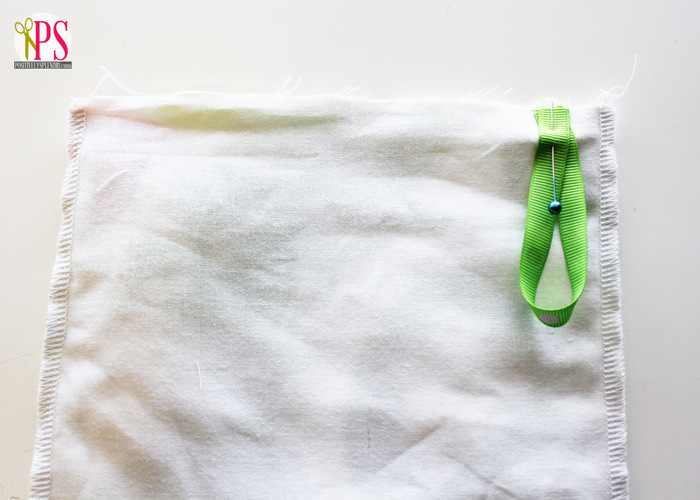
Now pick up the main assembled main stocking that is still wrong side out and place it on a work surface with the direction of the toe facing the direction you want to take when it`s finished. Below the toe faces left but the decision is all yours. Next pin the loop face down on the raw edge of your stocking, on top, 1/2″ from the outside seam would do.
Here you should make sure that only the top two muslin pieces and fabric layers have been pierced; if all four layers are pinned you will sew the stocking shut in the next step.
Next simply stitch 1/8″ from the edge to sew the ribbon into place. Make sure that you remember to remove the pin used when you are done.
Just slip the cuff down now over the top of the stocking as shown below while making sure that the seamed side is aligned with the side on which you have basted the ribbon. With caution pin the raw edges together now and remember to pin the cuff only through two layers of the ensemble, leaving the top open.
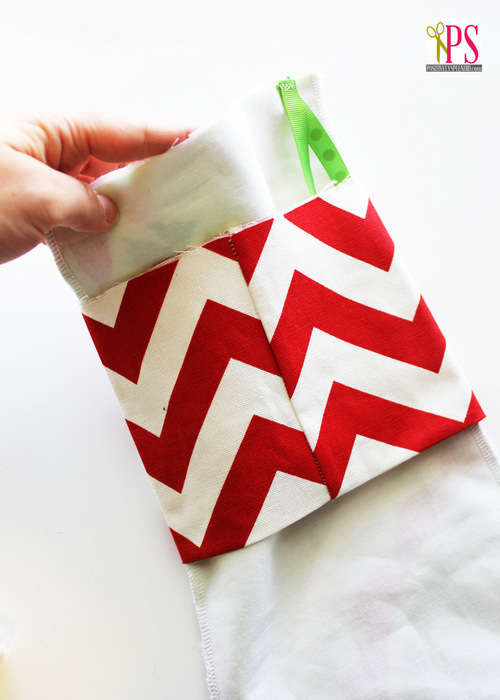
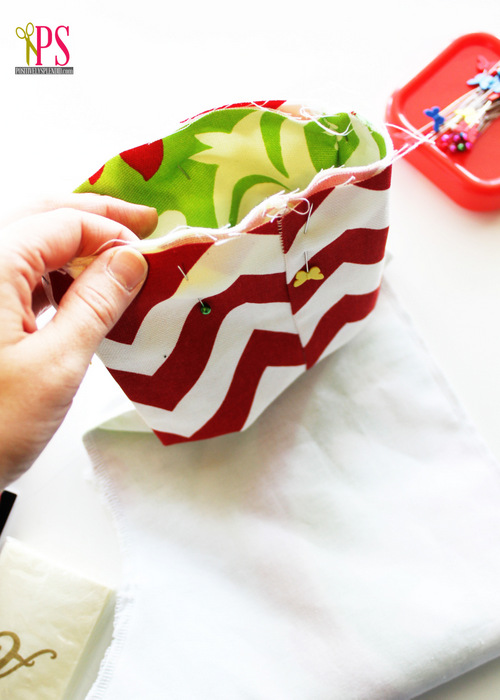

Just slip the cuff down now over the top of the stocking as shown below while making sure that the seamed side is aligned with the side on which you have basted the ribbon. With caution pin the raw edges together now and remember to pin the cuff only through two layers of the ensemble, leaving the top open.


 Re: கிறிஸ்துமஸ் காலுறைகள் உருவாக்க ... (படங்கள்)
Wed Nov 26, 2014 12:09 pm
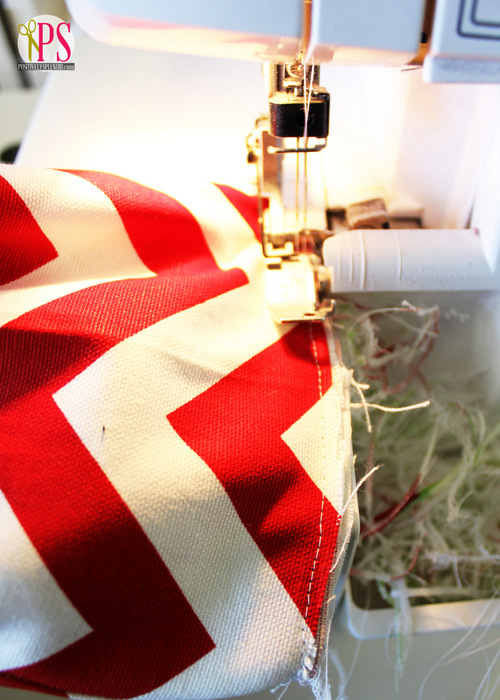
Now we should baste the cuff to the stocking by stitching 1/8″ from the edge with a regular, conventional sewing machine. In the next step all pins will be removed and with a conventional machine we will stitch the cuff to the stocking 1/4″ from the raw edge followed by a wide zig zag seam or overcast stitch.

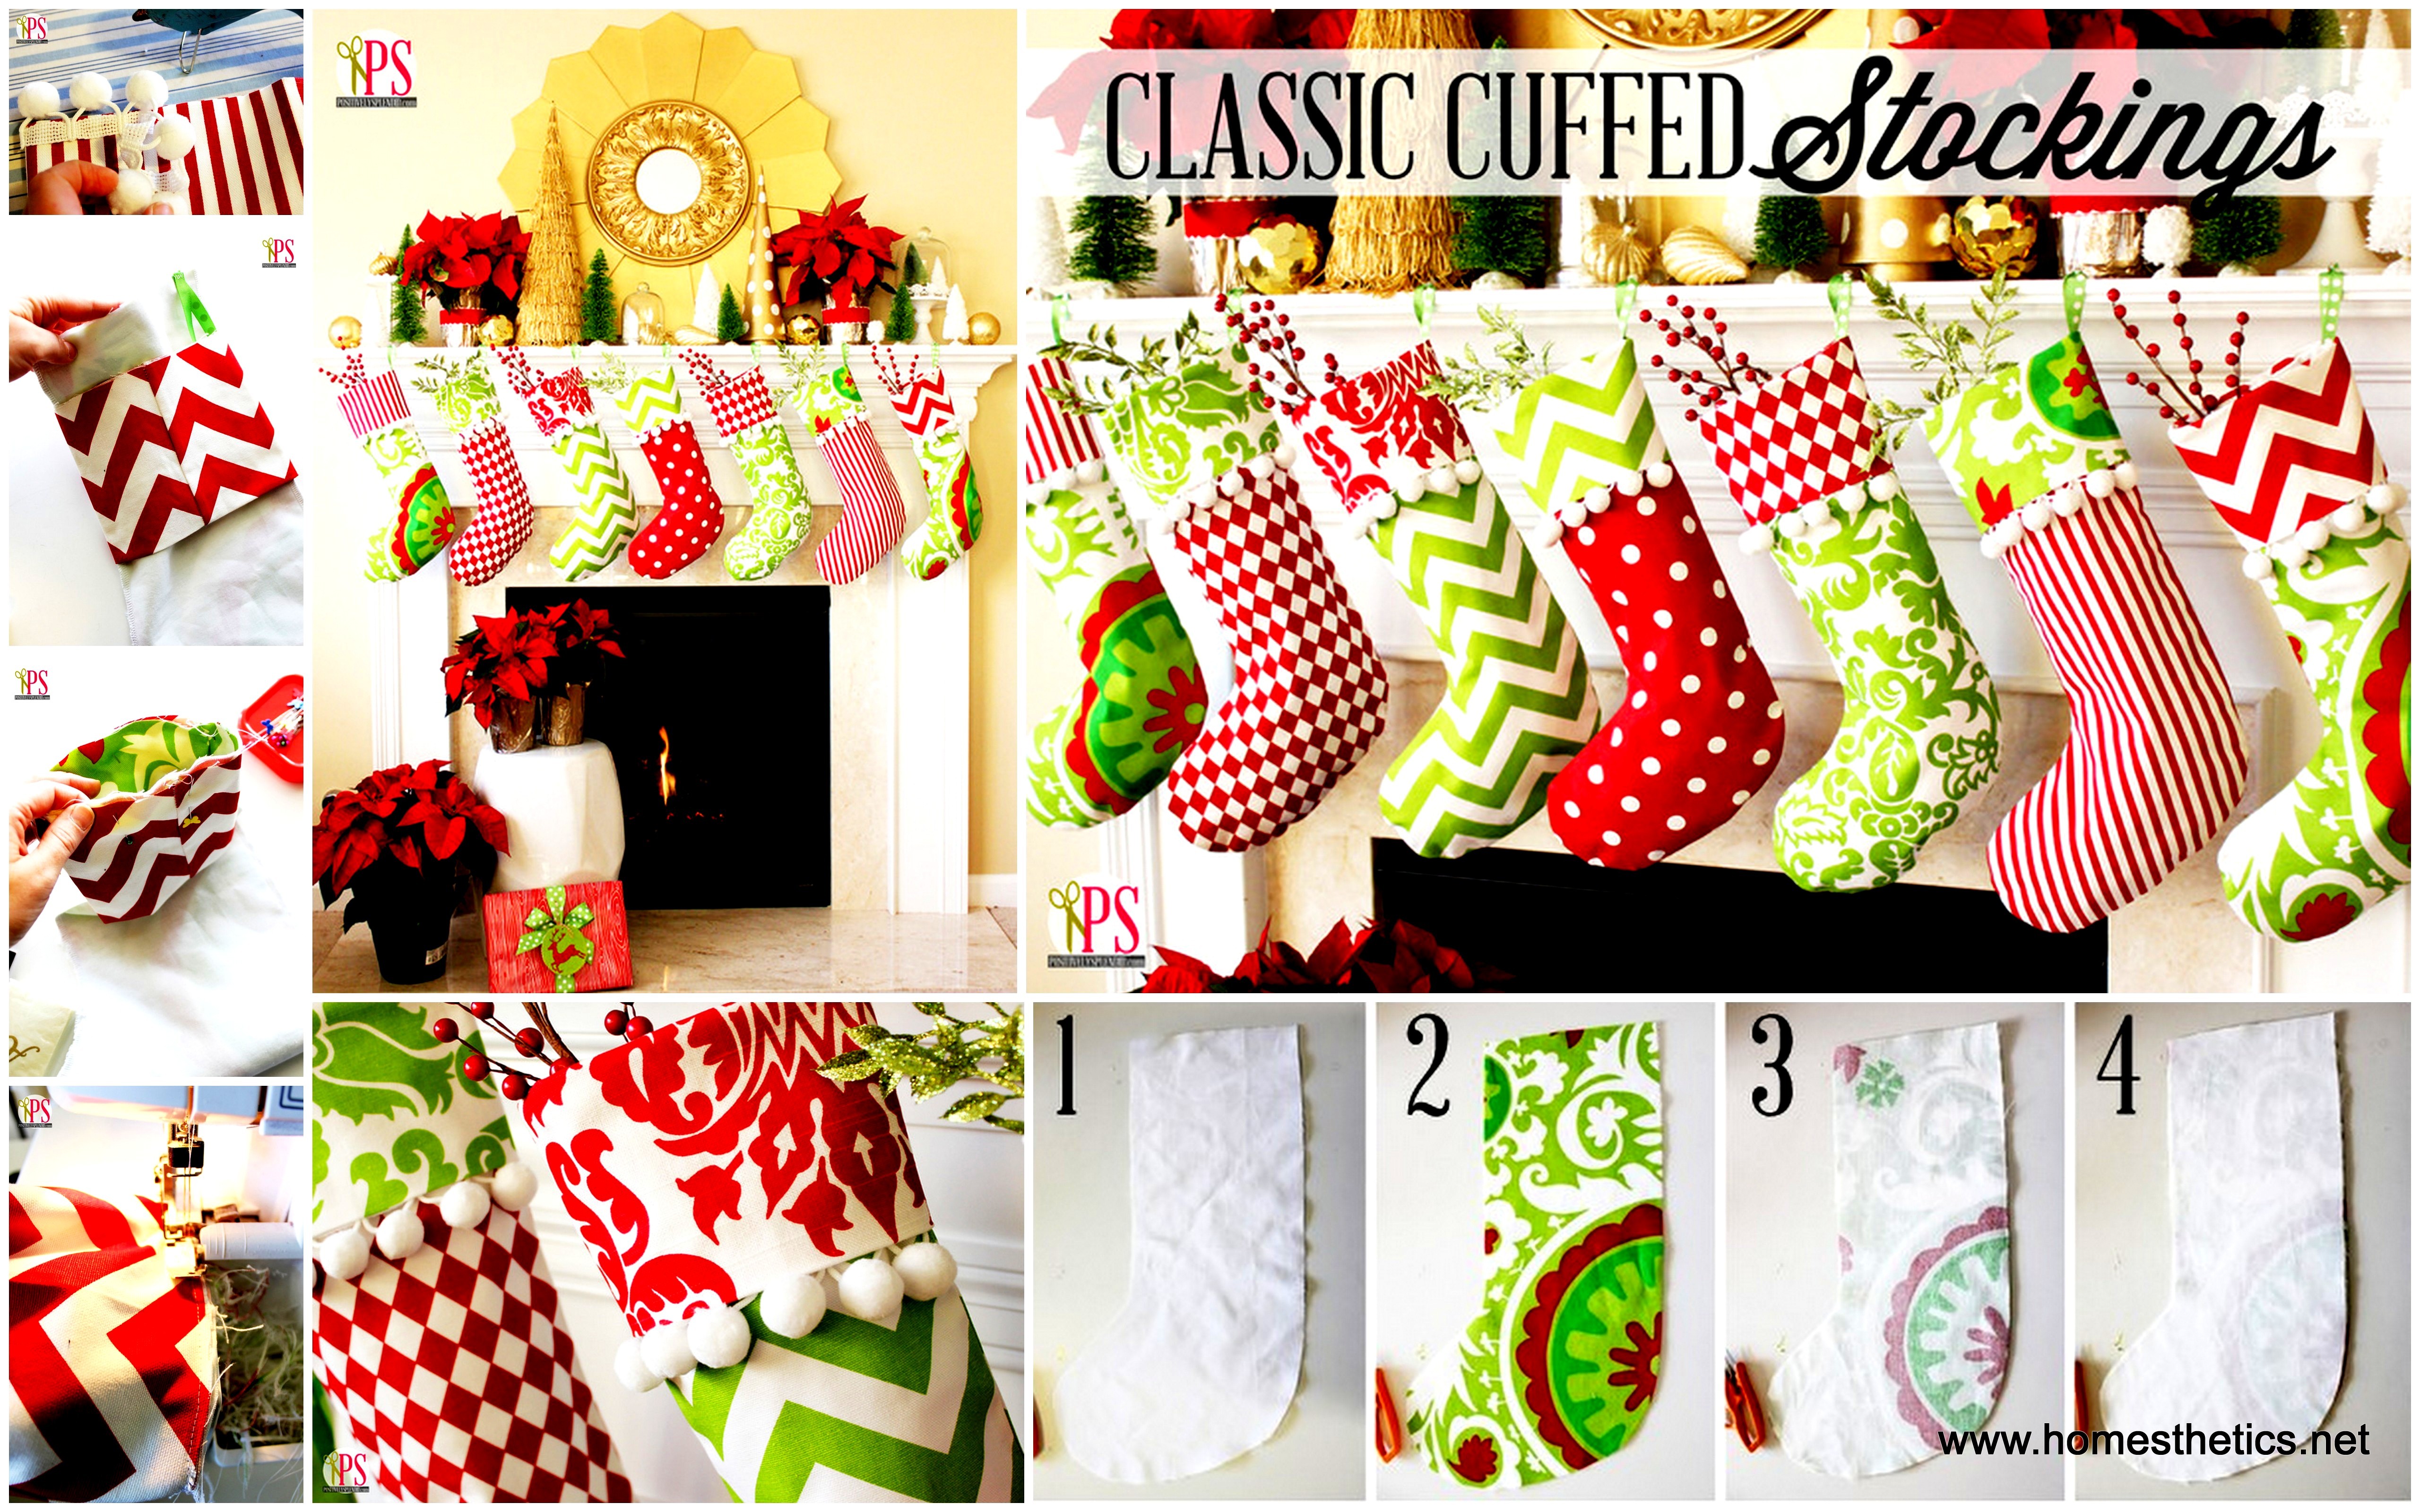
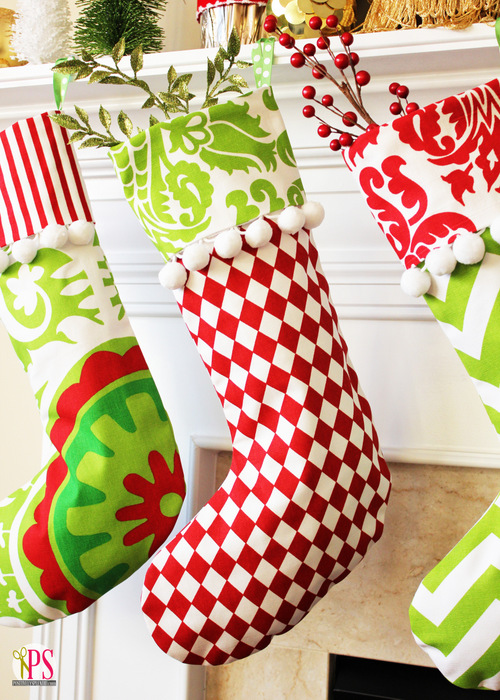
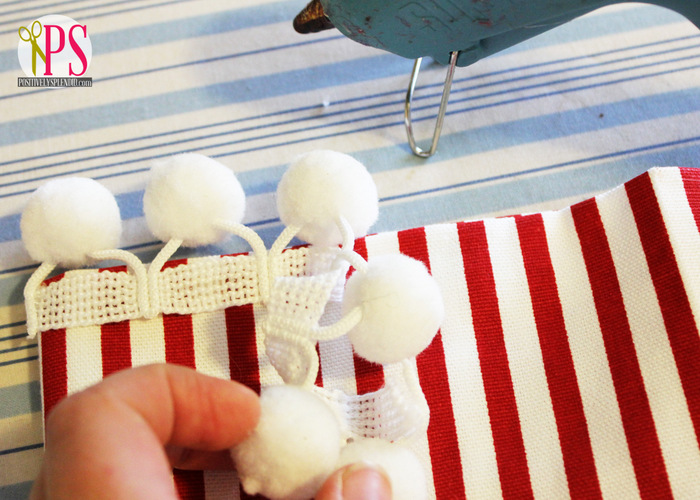
It is time to turn the stocking right side out and press. Next fold the cuff down and press once again. The item will be accessorized again with a pom pom trim after we have already positioned the stocking face up on our worksurface. You can use a glue gun to adhere a strip of pom pom trims on the back of the cuff to make sure that over the beautiful pom poms will hang over the top edge. You can put it on front as well but we think it looks a little more professional on the back. Fold the cuff down again.

The end! It is is time to enjoy the extraordinary results and celebrate. Repeat the procedure for more stockings, try different fabrics and patterns, look for colored pom poms, be creative and enhance the process as much as possible.
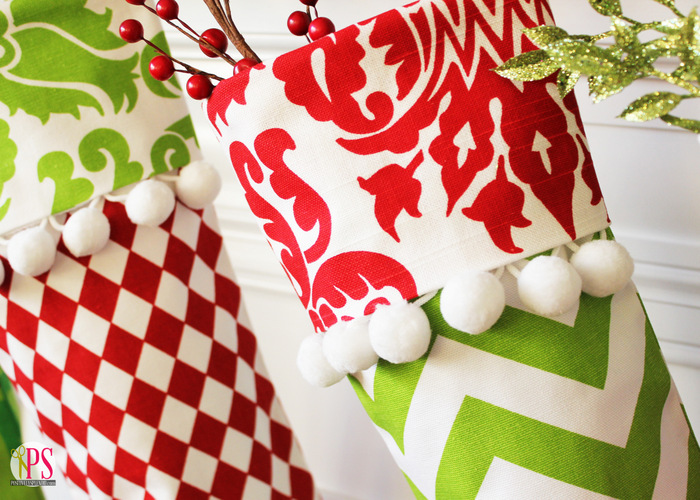
Below showcased there are different stockings realized in the same manner, we simply adore the results and we are sure you can make them look even better. Be creative, be yourself.




Below showcased there are different stockings realized in the same manner, we simply adore the results and we are sure you can make them look even better. Be creative, be yourself.


Permissions in this forum:
You cannot reply to topics in this forum


 Location